
Last updated: November 13, 2026
Quick Answer: for standingdeskconverters.com: Cable Routing During Height Transitions, plan for one slack loop and test the full lift range in under 1 minute before you use the desk. Cable routing during height transitions is about keeping cords clear of scissor pinch points so a standing desk converter can rise and lower without yanking plugs loose. The fix is a dynamic cable management assembly with a cable slack loop, spiral cable wrap, and adhesive tie-mounts. This guide shows where the cords go and what to avoid.
Cable routing during height transitions starts with one rule
Cable routing during height transitions works when every cord can move freely for the full lift range without crossing a moving joint. If a cable can’t follow the rise and drop of the top, it will pull tight at the pivot pins, snag under the frame, or bow into the work surface. That is the whole problem in one sentence.
Picture this: you’re lowering a riser at the end of the day, and the monitor cable catches at the back edge while the power cord stays put. The converter keeps moving for another inch, and the weakest plug takes the strain. That is the point where a cable snag desk converter setup fails.
The fix starts with a simple split:
- Cables that must move with the top.
- Cables that should stay on the base side.
- A planned slack loop between them.
If the converter has a scissor lift, the moving zone is the area around the arms and pivot pins. Keep cords out of that zone and route them to one side before the first fold in the mechanism. That is the difference between a tidy desk and a cord pulled in half.
What a dynamic cable management assembly does
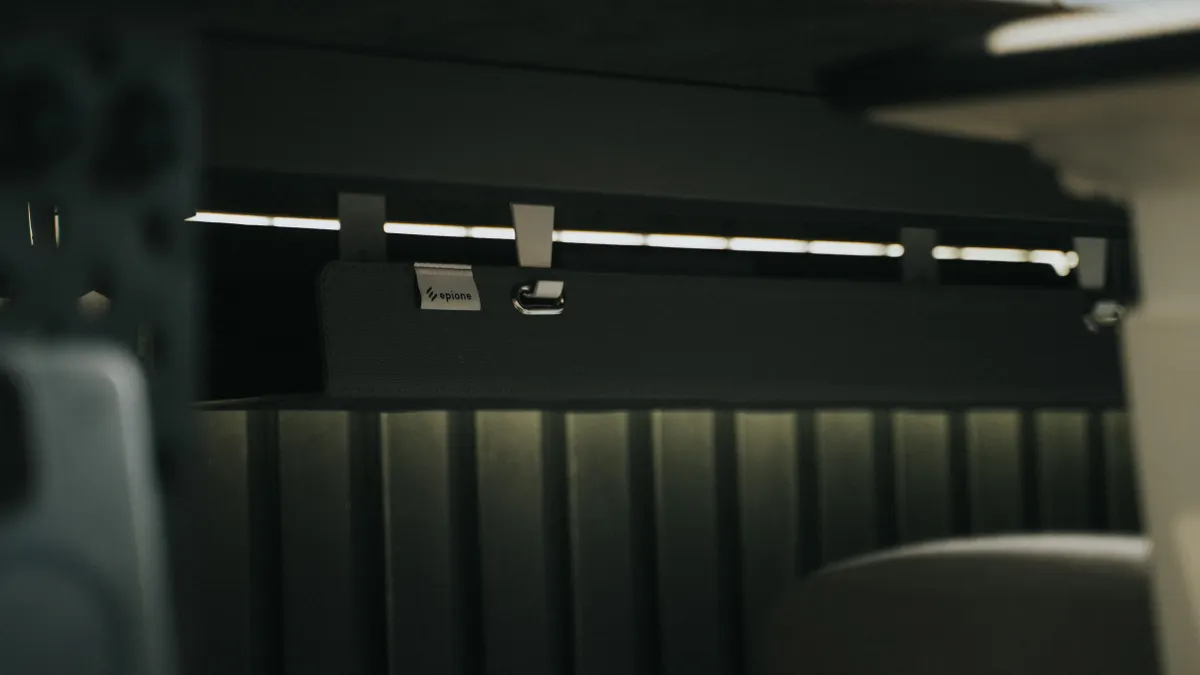
A dynamic cable management assembly keeps the cord path controlled while the desk rises and lowers. It is not just a bundle of clips. It is a moving path that gives the cord a clean bend radius, enough slack, and a fixed route around the lift hardware.
Picture this: you’re tracing the back of a standing desk riser and seeing three jobs at once. One cord powers the converter, one feeds a monitor, and one goes to a dock or charger. Without a planned route, all three move differently. That is where the assembly earns its keep.
The parts usually do different jobs:
- Adhesive tie-mounts hold the route at the rear edge or under the desktop.
- Spiral cable wrap keeps several wires together without a hard plastic tube.
- A cable slack loop gives the moving side enough extra length to travel.
- A cable chain sit stand style guide can carry cords in a clean arc when the movement path is long or crowded.
A generic article often misses this: the goal is not to make cords disappear. The goal is to make them move in a controlled shape. A tight bundle can still fail if it crosses a hinge. A loose cord can still work if it has a safe loop and clear path.
The most workable layout usually puts the fixed side near the outlet, then carries the moving side toward the converter with one soft loop. Keep the loop wide, not twisted. A sharp fold at a pivot pin invites trouble.
How do you route cords around scissor pinch points?
You route cords around scissor pinch points by sending them behind the lift, not through it, and by giving the moving side slack before the first joint. The cord should never pass between crossing arms or under a point where metal closes against metal.
Picture this: you’re standing at the side of the desk with the converter halfway up. The scissor arms form a narrow X, and the power lead wants to drift right into the crossing point. That spot is the danger zone. It takes only one descent to crush a cable jacket or stop the travel.
Use this sequence:
- Unplug the converter and lay every cable flat so you can see the full run.
- Identify the moving cords and mark the point where the top starts to lift. That is usually near the rear edge of the top panel.
- Keep the cord path outside the scissors by moving it to the back corner or side rail, not the center.
- Form a slack loop of extra length near the moving side so the cord can extend as the height changes.
- Fix the loop with adhesive tie-mounts on the stationary side, then let the moving side float.
- Wrap loose bundles with spiral cable wrap so they don’t drift back into the arms.
- Cycle the desk through one full rise and descent while watching the cord path from the side.
- Adjust the loop if it tightens before the desk reaches the end of travel.
The result should look plain: the cord makes one easy curve and never pinches flat. If it snaps tight at any point, the route is wrong.
Where do cords go on a standing desk riser?

Cords on a standing desk riser go along the rear edge, down one side, and into a slack loop that moves with the top. They do not belong across the center of the scissor lift or under a spot where the frame closes against the desktop.
Picture this: you’re looking at the back of the riser from a standing position. The clean route starts near the device, then runs to the nearest edge, then down toward the outlet side of the desk. That keeps the visible path short and the moving path predictable.
A good wire management desk riser layout usually follows three zones:
- Top zone: monitor, laptop, or dock cables sit near the devices.
- Transition zone: a slack loop bridges the movement.
- Base zone: the wall plug, power strip, or floor run stays fixed.
If a cord needs more reach, do not stretch it straight across the lift. Give it a loop that opens and closes. A straight line looks tidy for a second and then fails when the desk changes height. That is the trap.
You can also use a short spiral cable wrap to keep related cords from crossing each other near the rear edge. That helps when one cable is thick and another is thin, because the thin one loves to slip under the thicker one and snag later.
The cleanest route is often boring. It hugs the back, avoids the center, and leaves the moving hardware alone. Boring is good here.
What common cable mistakes break a converter setup?
The most common mistakes are a too-tight run, a bad anchor point, and a cord that crosses the moving frame. Each one causes a different kind of failure, but the cost is the same: a kinked jacket, a pulled connector, or a converter that won’t finish its travel.
Picture this: you’ve taped a cable to the underside of the desktop, proud of how neat it looks. Then the top lowers, the tape becomes the hinge point, and the cord has no slack left. The cord doesn’t care that the setup looks clean.
Watch for these errors:
- No slack loop. The cable goes tight before full travel.
- Anchors on moving parts. A clip on the scissor arm drags the cord into the mechanism.
- Hard bends near the plug. The connector sees strain every time the desk moves.
- Too many cords in one clip. A thick bundle can twist and shift back toward the pinch point.
- Running cords through the center opening. The middle of the lift can be the worst place for wiring.
Here’s the catch: what looks neat from the front can still be wrong at the back. A desk can be photo-ready and still chew through a cable in a week.
The fix is plain. Anchor on the stationary side, leave room for the moving side, and test the full motion before you call it done. If a cord changes shape sharply during the move, it needs a new route.
How to keep a cable chain sit stand setup from snagging
A cable chain sit stand setup stays out of trouble when the chain carries only the moving section and never crowds the scissor lift. The chain should guide the cable path in a smooth arc, not force it into a stiff corner.
Picture this: you’re trying to keep a long monitor cable neat on a tall lift, and the loose section keeps hanging in the air. A cable chain can help, but only if it has room to bend and does not press against the frame at full height.
Use the chain or guide for the section that moves most often:
- Start the chain near the fixed base point.
- Carry it to the moving top with enough radius that the cable is not kinked.
- Keep the chain clear of pivot pins and scissor edges.
- Leave the last short section flexible so the plug is not pulled side to side.
If the chain is too short, it will yank. If it is too stiff, it will fight the lift. If it sits too close to the mechanism, it can scrape or catch when the desk changes angle. The chain is a helper, not the route itself.
For a simple converter, a soft loop and spiral wrap may be all you need. A chain makes more sense when the cable run is longer, the device stack is heavier, or the movement path is more exposed. That judgment matters more than the part.
The fast check before you raise or lower the desk
The fastest check is to watch the cords through one full height change with nothing on the path but the cables. That tells you in under a minute whether the route clears the moving parts or lies to your eye.
Picture this: you’re halfway through a sit-to-stand change and the monitor cable starts to bow toward the scissor arm. You don’t need more tape. You need a different path.
Use this final check:
- Make sure the cord path never touches the scissor linkage.
- Confirm the slack loop opens and closes without pulling a plug.
- Check that no clip or tie-mount sits on a moving arm.
- Look for rubbing at the rear edge, especially on a metal frame.
- Repeat the motion once more after any adjustment.
A dynamic cable management assembly is worth using because it follows the movement instead of resisting it. That is the whole job. If the cords still shift into the lift path, the route is not finished.
This also connects back to the larger standing desk converter compatibility question: the desk may be mechanically fine and still be a bad fit for your cords unless the cable path has room to move. The frame and the wiring both have to work.
Key Takeaways
- Keep cords out of the scissor arms and away from the pivot pins.
- Give the moving side a slack loop so the cable can change height without strain.
- Use adhesive tie-mounts on the stationary side, not on moving parts.
- Spiral cable wrap helps bundle loose wires, but it does not replace slack.
- A cable chain can help on longer runs, as long as it stays clear of the lift path.
How much cable slack do you need for a standing desk converter?
You need enough slack for the cord to travel through the converter’s full rise and descent without going tight at any point. The right amount is the slack that keeps plugs relaxed and leaves the cord clear of the scissor linkage through the whole motion. If the cord starts to tension before the desk finishes moving, add more loop.
Where do cords go on a standing desk riser?
Cords go along the rear edge or one side, then down into a fixed base-side route. The moving section should have a soft loop, while the fixed section stays anchored away from the scissor pinch points. That keeps the cable from crossing the lift and lowers the chance of snagging during height changes.
Drafted with AI; not yet reviewed by a person.